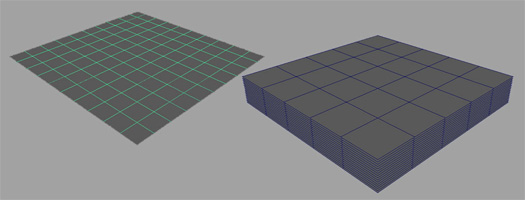
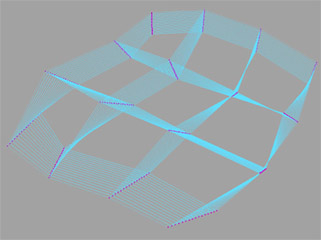
Start with a simple plane, then duplicate it several times. For this example I’m using 16 planes, each seperated by .1 units.
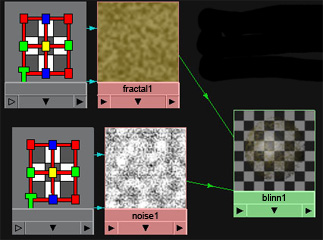
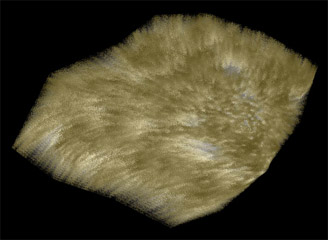
Shading is fairly simple – all I used was a blinn shader with a fractal map for color, and a noise map for transparency.
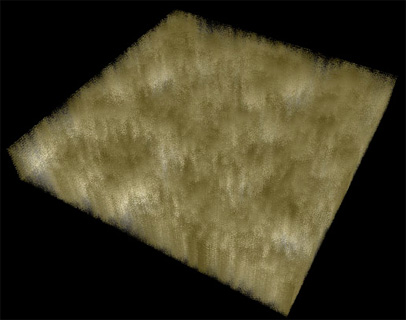
By manipulating the verts, you can change the direction of the fur –
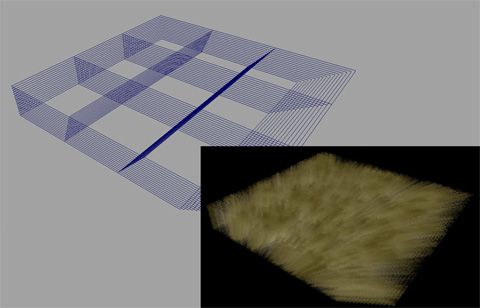
Distorting the mesh further can help simulate combing –
A jiggle deformer can be used for animation, with the weights adjusted so that each layer moves more than the last, with the base not moving at all.