What I’ll be covering are the steps I took in Maya to make Mary’s skin.
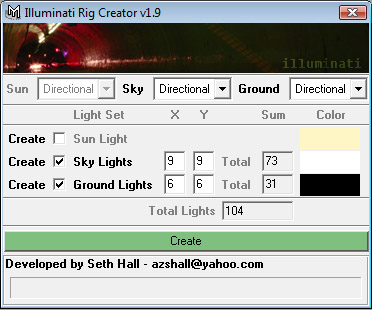
Aside from it being slow, I’ve gotten uneven results when trying to bake out a GI map with mental ray. Instead, I use Seth Hall’s Illuminati script.
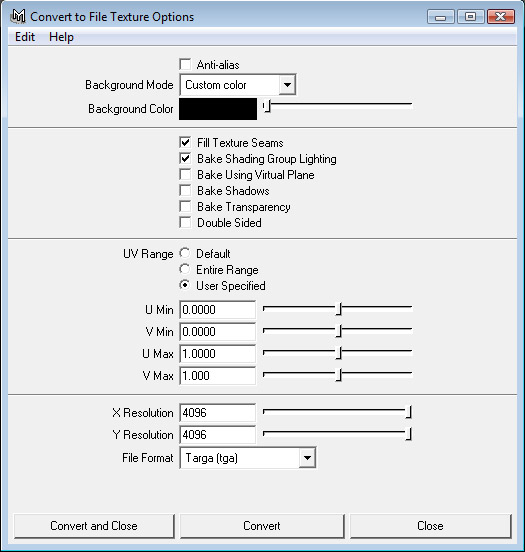
With your smoothed mesh and a white lambert shader selected, open up the Convert to File Texture dialog.
Make sure “Fill Texture Seams” and “Bake Shading Group Lighting” are checked, and set the resolution high enough to give yourself some leg-room, later.
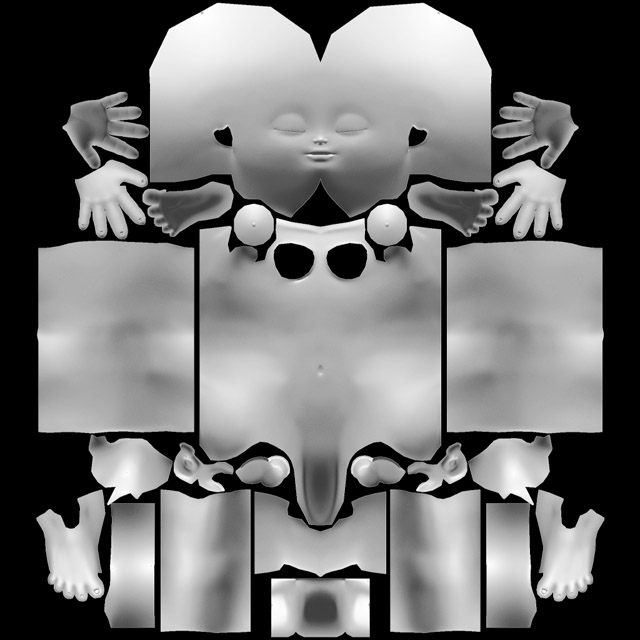
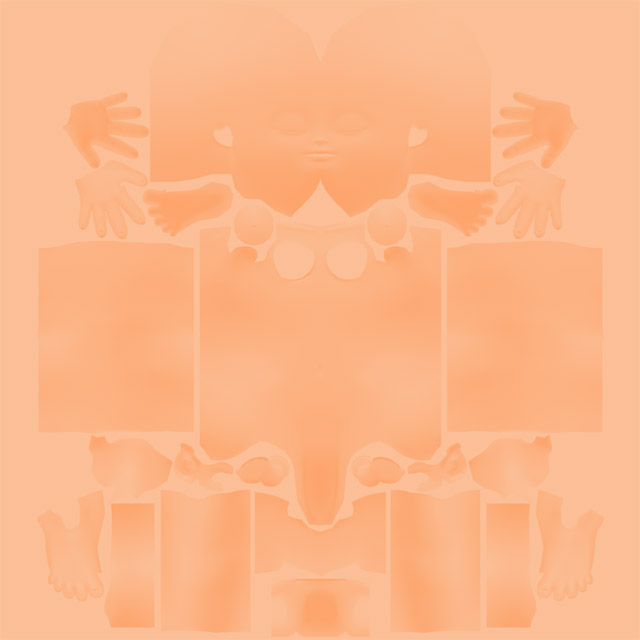
And here’s the result –
Now might be a good time to start assembling things in Photoshop. The first thing we’ll do is create a Solid Color layer, for the base color.
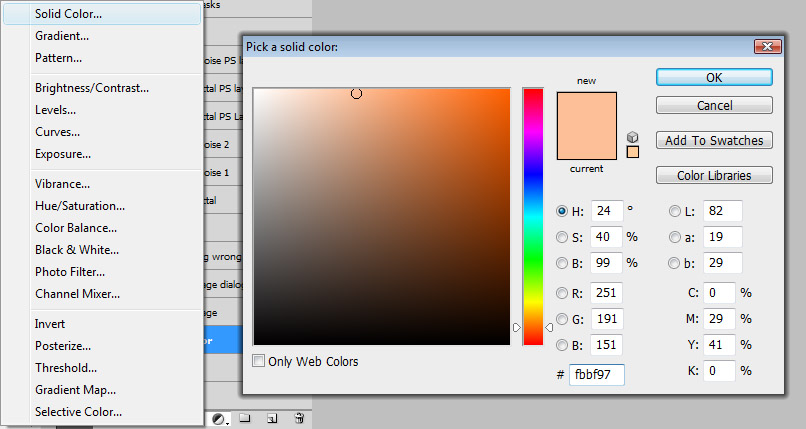
Create another Solid Color on top of this, and make it pure red. Set its blending mode to Overlay, and the opacity to about 50%.
With this red layer still selected, use the Image -> Apply Image command to apply the lightmap as a mask.
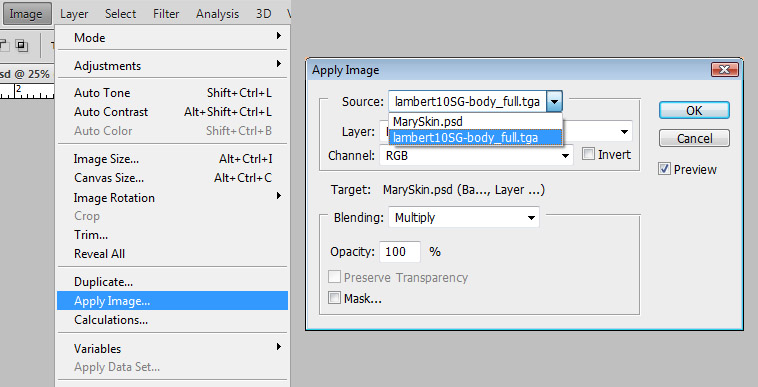
Specify the laightmap as your source, and hit OK. At first, things may not look quite right –
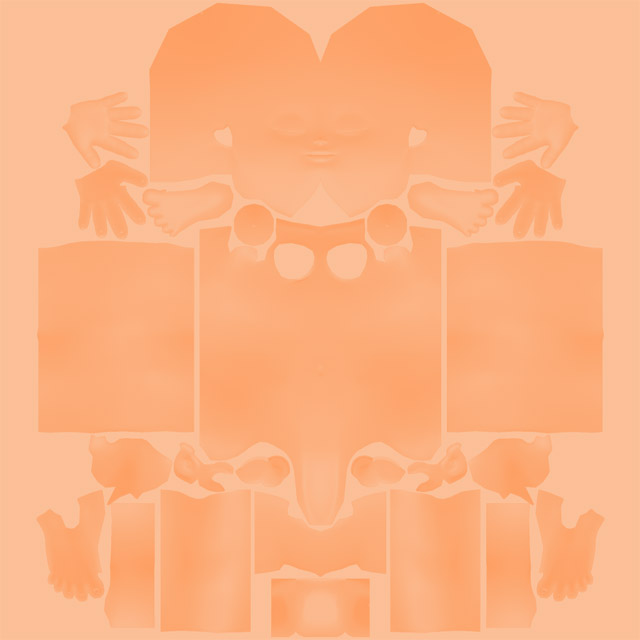
No problem – simply invert the mask to get the proper values.
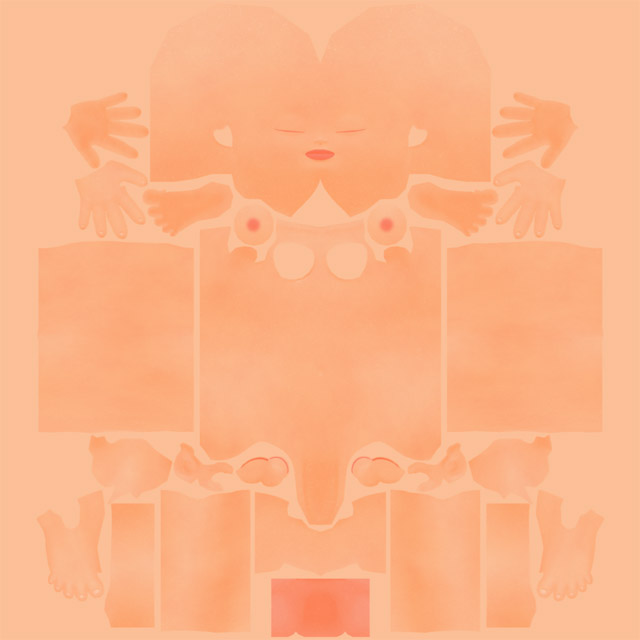
Additionally, I like to bake out procedural textures, such as Solid Fractal and Volume Noise, to help break up the color and add some subtle details. Some areas (lips, finger nails, etc) will require a more hands-on approach. If you’re like me, and you’re too lazy to paint these areas by hand, you can use a either a single cluster or a pair of joints to speed things up. Smooth a copy of your model (and maybe delete history), and apply a cluster (or skin to the joints). Next, select the verts for the areas you want masks for – lips, inner eyelids, nails, nipples, etc, then open the Paint Cluster Weights tool or the component editor, and change the weights for these verts to 0.

When you’re done, save out the weight map at the same resolution as your texture.
Note – I’ve had some problems with the cluster weights, where sometimes there will be black spots on the map where I know I didn’t put any. Skinning to joints doesn’t seem to have this problem.
Just as with the light map and procedurals, the weight map will be used as a color mask in Photoshop.
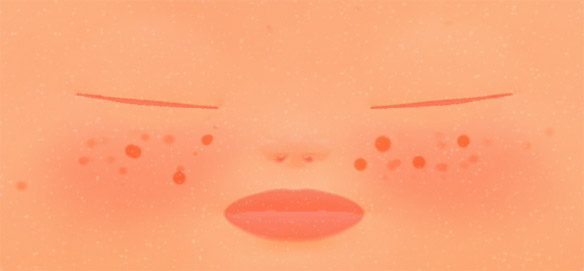
Additional masks can be created with Maya’s 3D Paint tool, or directly in Photoshop. For Mary, some some examples are her nose, cheeks, and larger freckles –
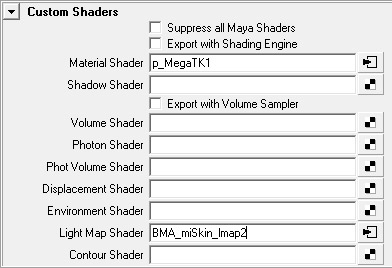
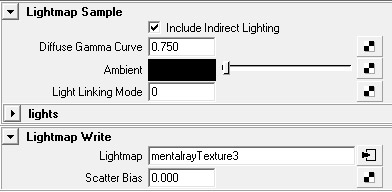
When your map is complete, setting up p_MegaTK is fairly simple, although some parts can be confusing (though they are well-documented by the author). After creating the shader, add a misss_fast_lmap to the light map channel of its Shading Group node. Remember to check “Include Indirect Lighting” if you plan on using GI!
Next, create a misss_fast_skin shader. The only things we need to be concerned about are the Subdermal and Backscatter layers, so everything else (diffuse, epidermal, specular) should have their weights set to zero. In most cases, you may not even need to assign a map to any of the color channels. The most difficult part is the Scale Conversion. If your model is built to real-world units, you should be fine, otherwise you’ll need to do some math.

Clicking on the lightmap’s assign map button should automatically create an MR Texture node. Set this to writable, the resolution to roughly twice your render size, and the depth to 32 bits. We need MR to write to this, so entre the node’s name in the Lightmap attribute of the misss_fast_lmap we created earlier.
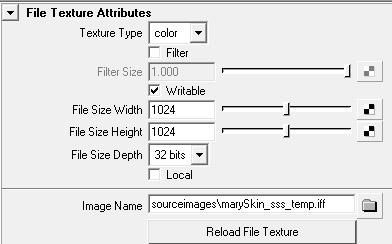
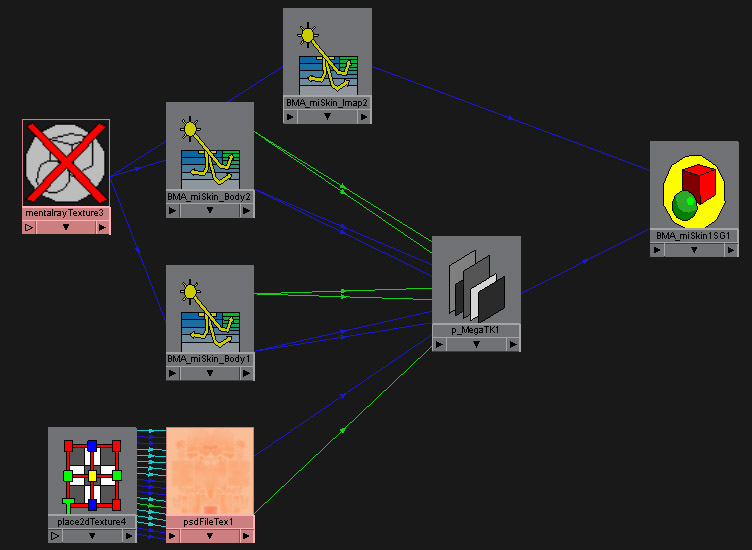
Once you have everything configured properly, duplicate the miSSS shader. We’ll want two separate shaders for the Sub and Back, starting with one just speeds things up. Remember to fix the weights so that one layer isn’t active in the other’s shader. Also uncheck “Screen Composite”, and reconnect the MR Texture.
In the MegaTK shader, turn on the Ambient and Incandescense, and plug the Sub and Back shaders into their color channels.
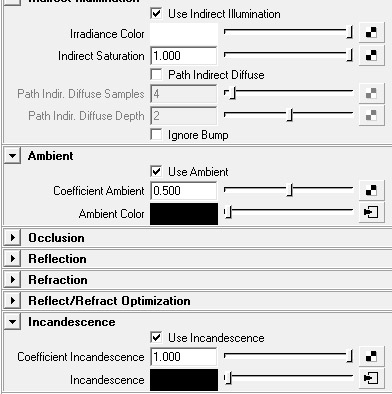
Once everything is hooked up, your shader network should look similar to this –
The weights for each MegaTK layer can be adjusted to get a proper beauty pass, but often you can get better results by compositing all the shading layers in post.
