Something I’ve been trying to figure out for a while (and I know I’m not alone), is how some studios get their characters’ eyes to stretch, while the pupils remain circular. Now I think I’ve found a solution.
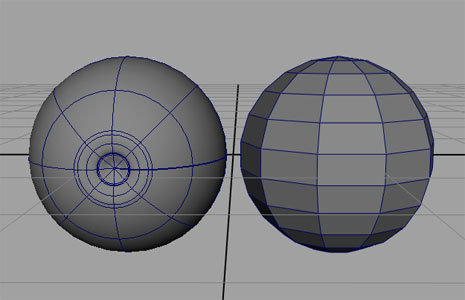
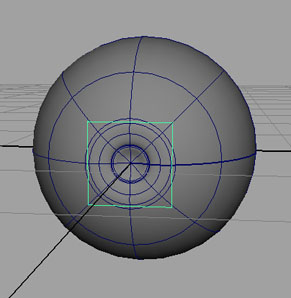
To start out, we need two meshes – the eye model, and a polygon sphere of roughly the same size. The construction options for the poly sphere will need to to be adjusted, so that we have a face directly in front of the nurbs eye’s pupil. For this example, I’ve set the subdivisions for the axis to 10, and the height to 11 –
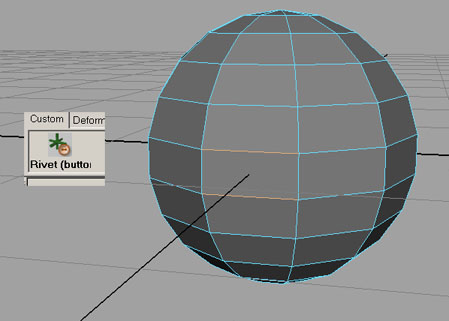
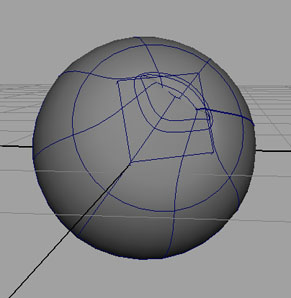
For this next part you’ll need the rivet script installed. On the poly sphere, select two parallel edges in front of the nurbs pupil, and create a rivet –
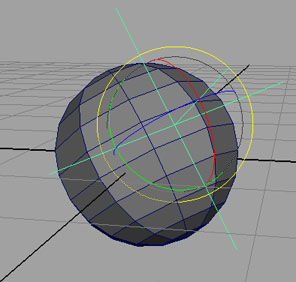
Now you should have a locator that will stick to that polygon, no matter how the sphere moves or deforms –
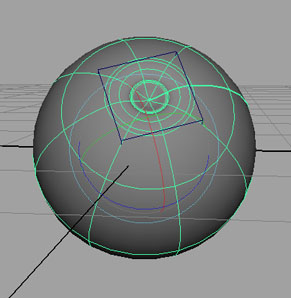
Now, select the eye and the poly sphere, and apply a lattice deformer. (Any deformer can be used, this is just an example)

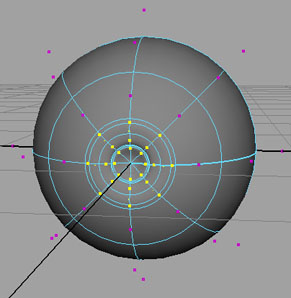
Next, select the CVs for the pupil, and create another lattice –
This second lattice will then be parented to the rivet locator. But if we select and rotate both models, we run into a problem –
This is easily fixed. Undo the rotation, open the second lattice’s attribute editor, and check the ‘Freeze Geometry’ option –

And rotate the models again, just to make sure everything’s behaving –
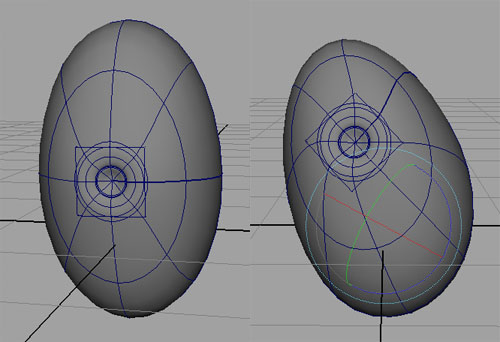
Now to see the full effect, change the shape of the first lattice, and rotate the spheres –
From here, it’s just a matter of tidying things up. Rather than having to animate both spheres, it’d be much easier to orient-constrain one to the other, or connect their rotation values directly.
Here’s the finished scene, to play around with – stretcheye.zip